Following the exploration and teaching about cavity kilns like open pyramids, cones and cylinders in BC, Canada (Cavity Kilns in Canada – October 2014), I built similar kilns in California.
This is a photo blog on building 4ft (1.2m) pyramid kiln out of metal sheet, and a 1 cubic yard cylinder kiln out of a large propane tank on a rural property in Northern California.
There are various suggestions for what these open draft cavity kilns ought to be called as a category. As shown in previous blogs, the cavity can be a cone, pyramid, drum, cylinder or ring, pit or trench in the ground, or even partially closed. The distinguishing feature is the cavity, with open draft above, and the ability and necessity to continue to add biomass during the batch run (usually not a feature of a retort or TLUD). This works so well because the flame above the pyrolyzing biomass in the kiln consumes most of the oxygen convecting into the kiln so that at the carbonizing biomass below the flame there is little oxygen to gasify the char. The char is formed at a relatively high temperature in these open, oxic, kilns so most oxygen rich volatiles are distilled off. Char gasification is the process of oxidizing the residual solid C to gaseous CO, which can then combust, and the process can’t proceed much in an anoxic or oxygen starved environment. The char is conserved and prevented from turning to ash.
In this blog I am using the term Flame Shield Kiln to draw attention to this important operating feature of protecting the biochar with flame. Harnessing the flame in this way also encourages a clean burn because the smoke is drawn into and consumed in the copious flame.
The guide to operating the kiln is essentially flame management. Start a clean fire in the kiln, then feed it with enough material to keep a lively flame over the whole surface. Too slow a feed and the flame dies back, allowing the biochar to oxidize to ash, and also allowing smoke to escape when more biomass is added. Too fast a feed smothers the flame, places material outside the flame zone, and also promotes smoke to escape.
MAKING AND OPERATING PYRAMID & CYLINDER FLAME-SHIELD KILNS IN NORTHERN CALIFORNIA
PYRAMID KILN
Cutting the sides and base
- Instead of an 8 ft x 4 ft sheet, I purchased four pieces 2 ft x 4 ft.
- Cut triangles off to form the the trapezoidal sides of the kiln (angle grinder with thin cutting blade)
- From these triangle off-cuts, cut the four triangular pieces for the base.
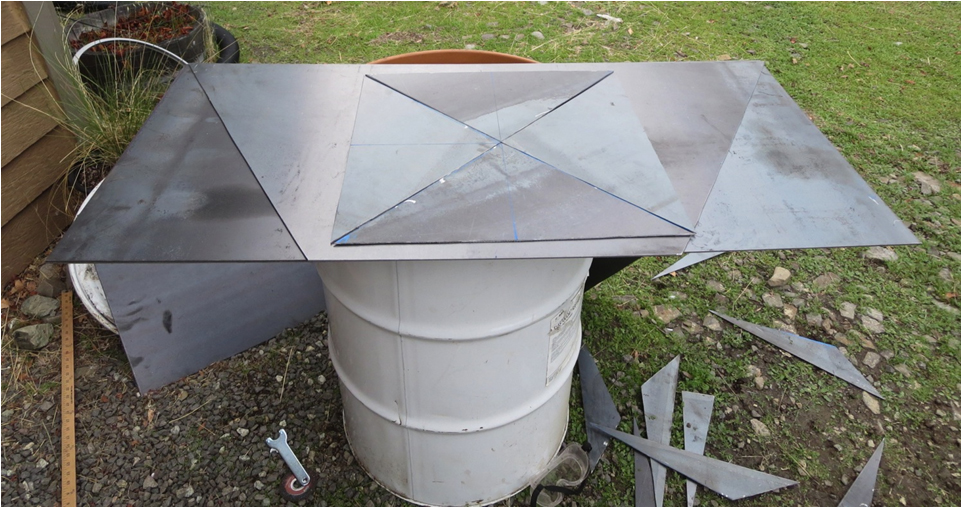
Here’s the pattern concept
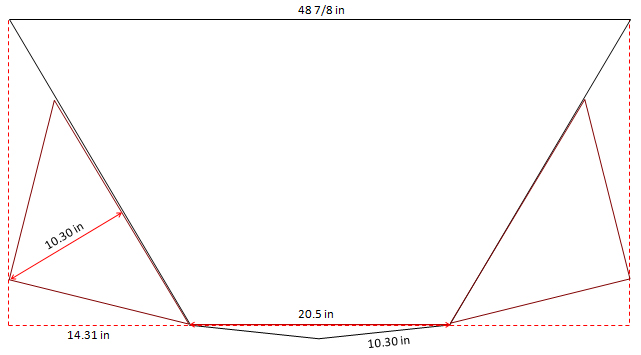
- Each side can be laid out on a 2ft x 4ft sheet.
- The purchased pieces were a bit bigger than 48 in, and my pattern maximizes the use of metal.
- The triangles for the base are laid out in the triangular off-cuts from the side.
- The base quadrants were slightly more acute than right triangles, so the base would form a shallow pyramid – as shown in construction below the plate
WELDING
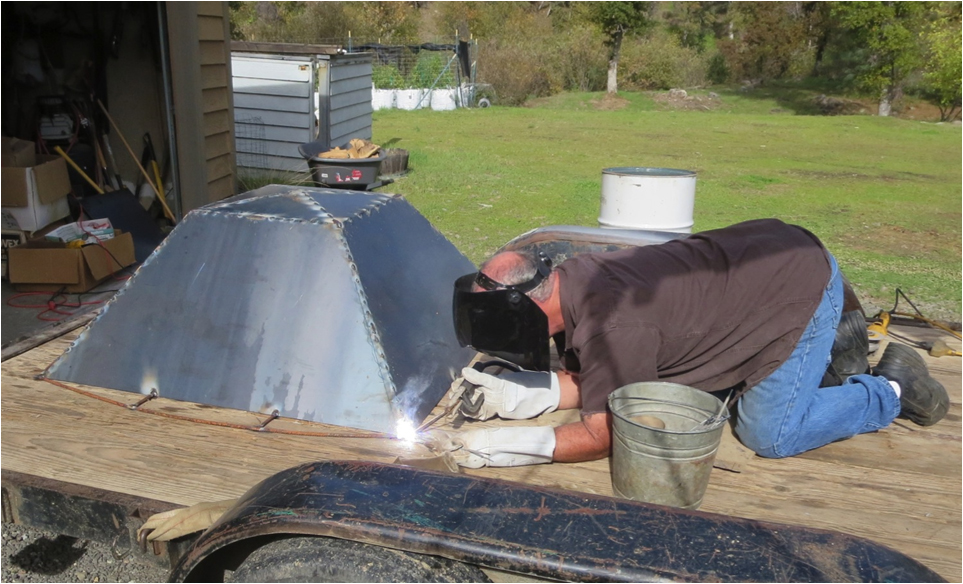
- Tack the base and sides together
- Weld on handles
- Continuous weld all seems inside and out to be water tight
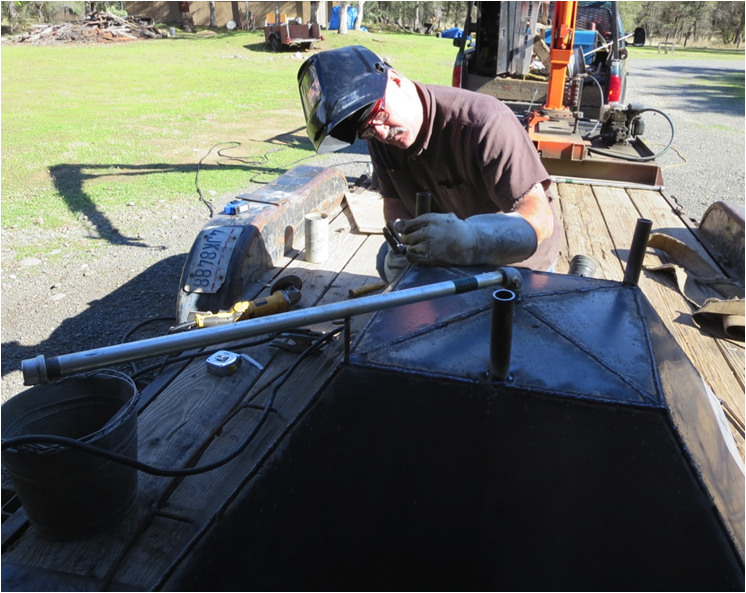
- Cut in and weld nipple for drain
- Screw on elbow and drain pipe and weld a stiffening leg to pipe
- Weld on legs – 3 legs are enough.
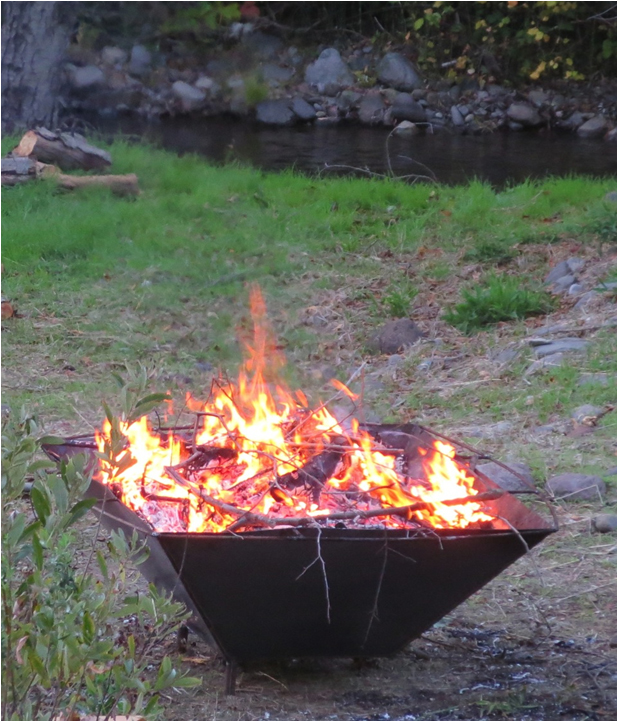
The finished Pyramid Kiln
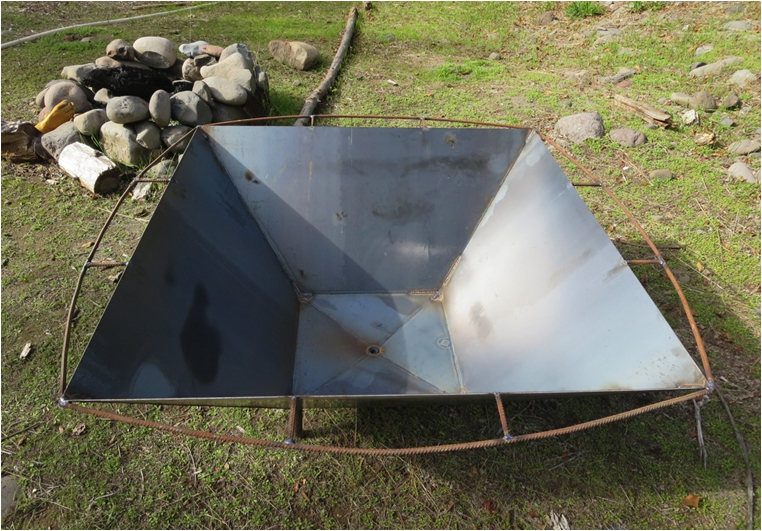
- It replaces a stone fire pit
- The concept of the surround kiln handles was to stiffen the sides against heat distortion
- The handles will be redesigned in future to allow for the differential expansion between the hot sides and the cooler handle, which forced some distortion of the sides
Nice features
- The kiln is light and can be easily moved
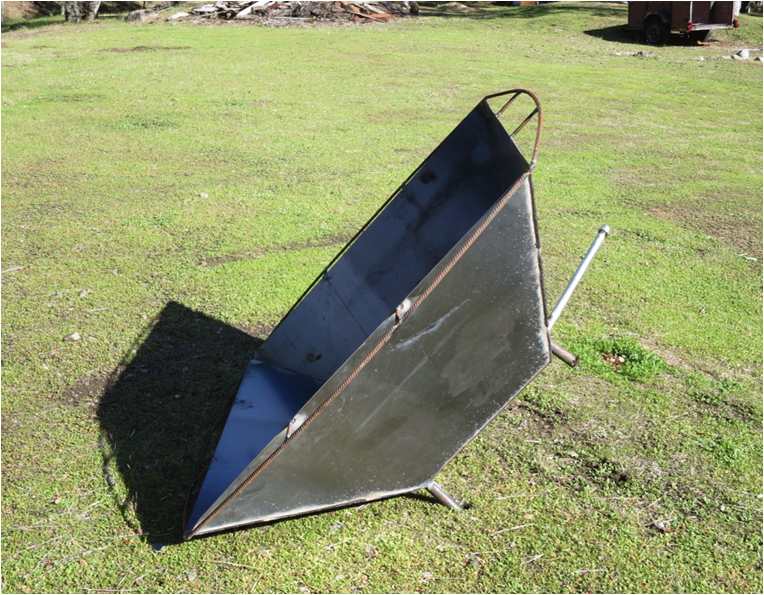
- It can be tipped to empty the biochar
- Its diagonal is 5.7 ft (1.7m), capable of taking long sticks
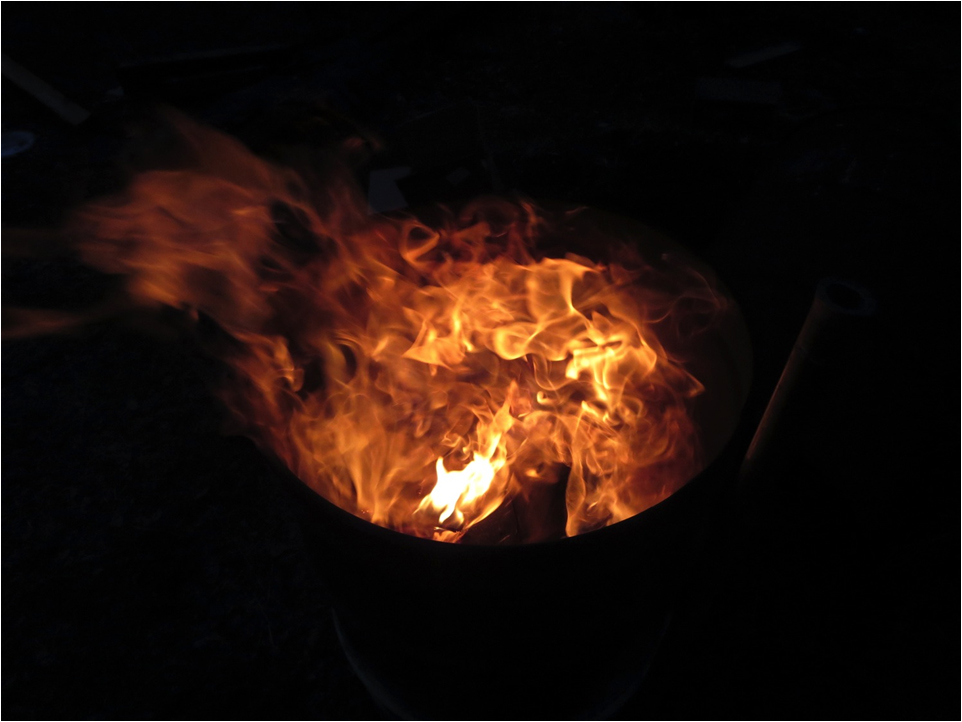
Starting the kiln
- Build a pyramid of kindling high enough to almost reach the top
- Include some paper or cardboard and light at the top
- Good fire starting practice with dry material minimizes smoke
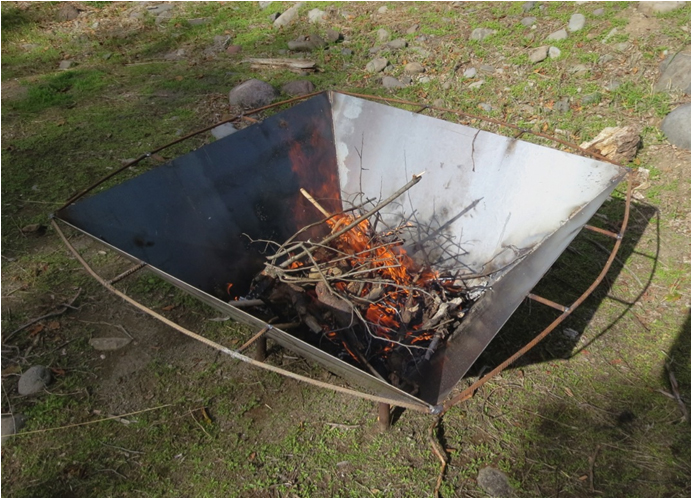
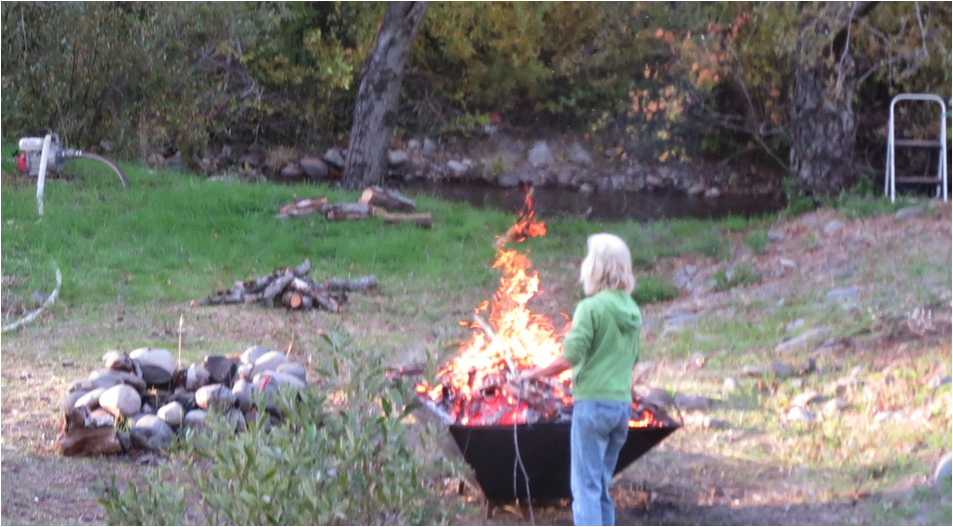
Layering and Loading
- After a sustaining fire bed is spread across the bottom of the kiln, layer material over it a rate that sustains flames.
- Remember plenty of flames kills smoke, and protects the forming biochar from oxygen by consuming most of it.
- Once the kiln is well underway, larger material can be loaded on, but only so much as maintains the flames, and doesn’t smother them or produce smoke.
- The diagonal of a 4ft (1.2 m) square kiln is 5.6ft (1.7m). It takes long wood.
Clean up the property while making biochar
- Drag the brush over
- Get up a ladder and cut the deadwood out of the trees
- Chain saw up the rotting log pile
- Always have water handy
QUENCHING
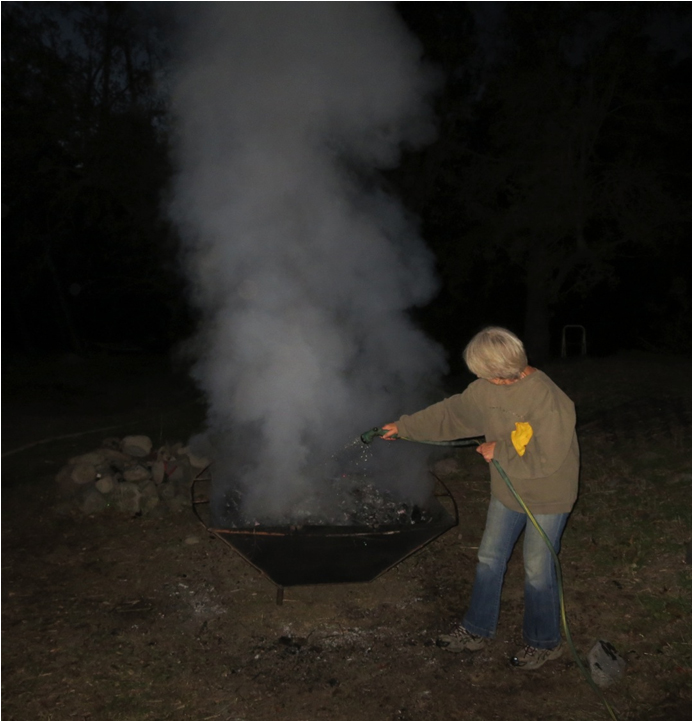
- Quenching by water spray from above
- Be thorough – it may be best to fill the kiln. A square nosed shovel can be used to break up the char in the kiln while ensuring it is fully quenched
- The kiln can also be quenched from below through the drain, producing much less steam
- With this method nutrient rich quench water can be supplied
- The leading surface of the rising quench fluid quickly cools the char, and not much nutrient is volatized.
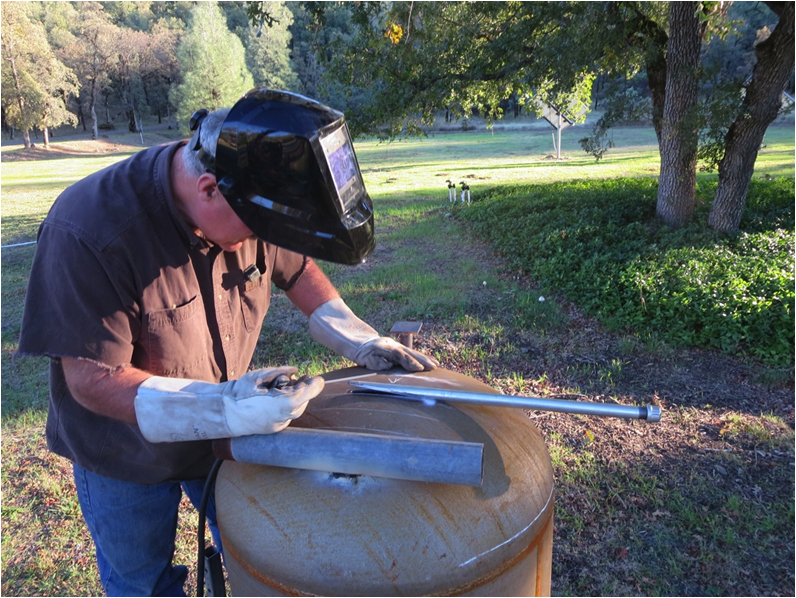
Cutting a large propane tank to make a cylindrical fire-shield kiln
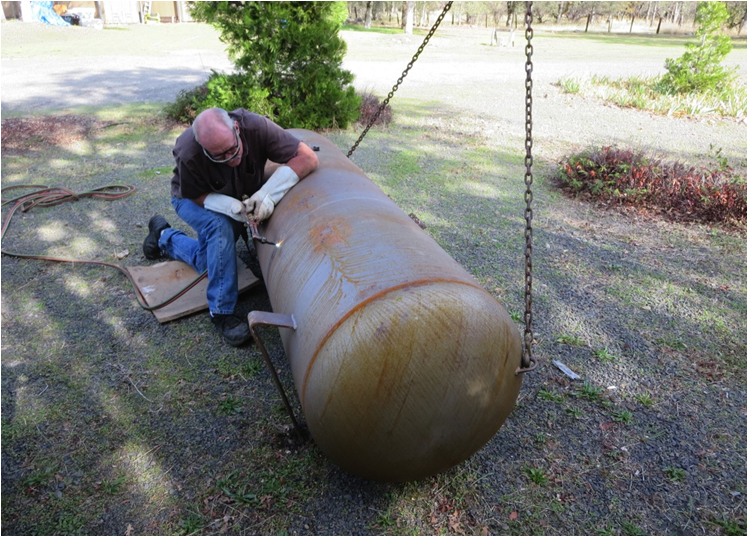
This propane tank was professionally emptied and sand blasted before purchase
(This is California after all. See my last blog for how we safely handled it in Canada)
- 90 cm is the maximum convenient depth – less than half the tank
Weld on legs and drain pipe. That’s it!
- The heavy kiln will be tilted over the horizontal pipe leg for emptying
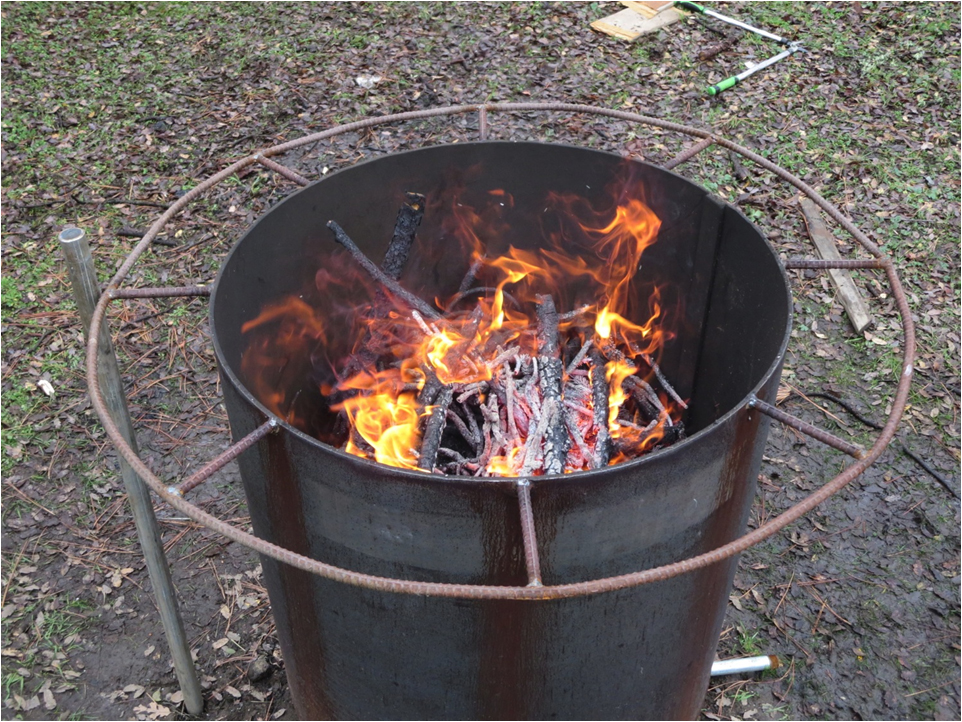
Commissioning the kiln
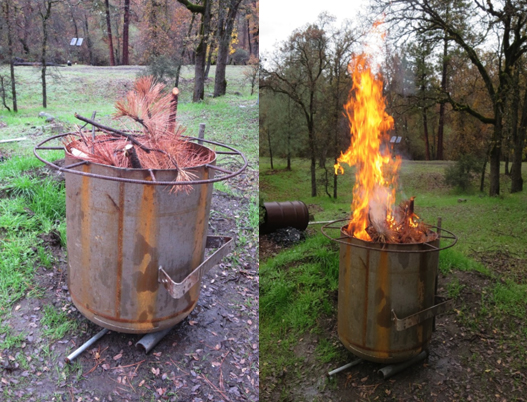
- A deep cavity kiln requires starting material to be raised almost to the top of the kiln for air
- Here we loaded the kiln with pine tree clipping, and lit from the top
- The drain pipe can be open to start, but must be closed once in full operation
The surround handle aids in tipping the heavy kiln over
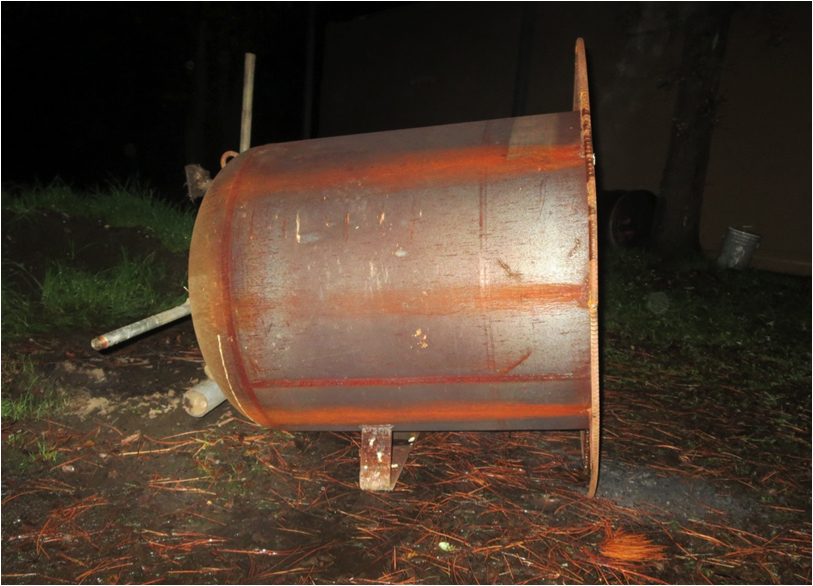
- The handle and original leg of the propane tank support the kiln while emptying the biochar
The biochar next morning
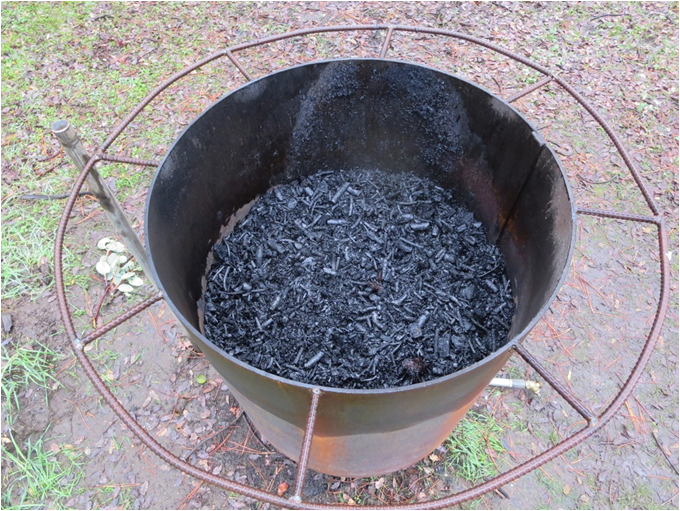
- Commissioning was with wet material on a rainy evening – we only partially filled the kiln.
- The material was quenched just lightly from above, then snuffed with a metal plate
- This steamed the biochar and resulted in a less drenched char
- But take care with this approach. It is safer to fully quench the char
Leave A Comment